
Warning: This is a long post. Tutorial included.
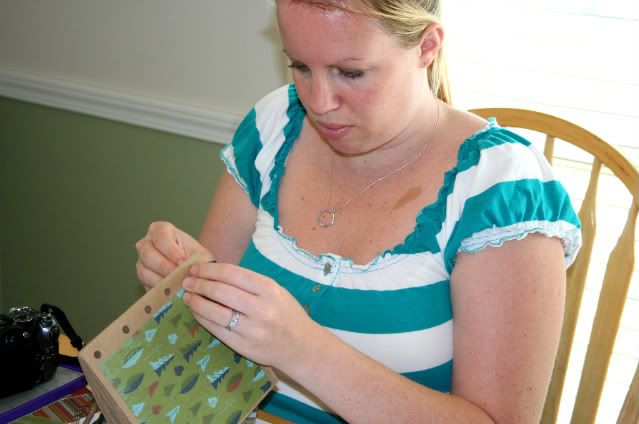
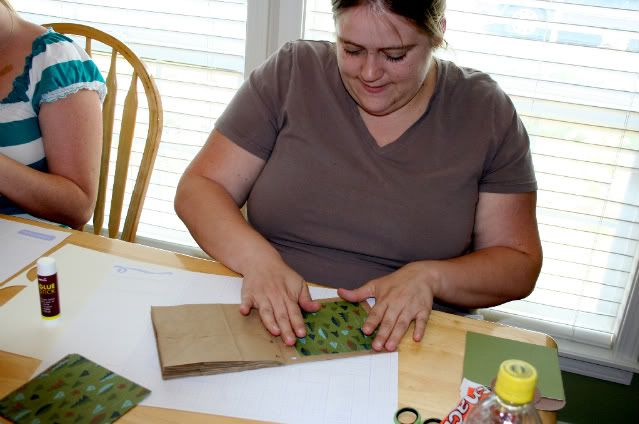
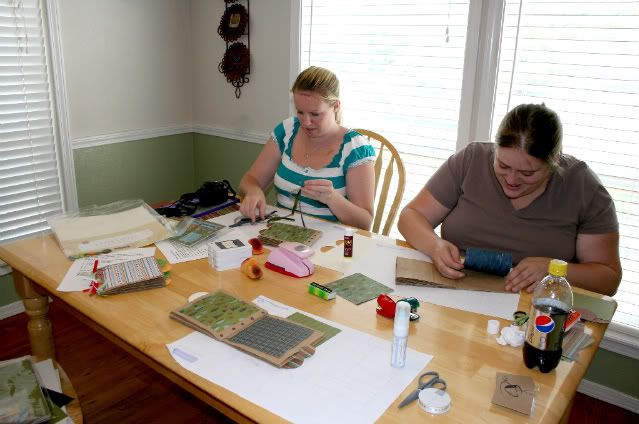
My daughter in law Jennifer and her friend Jacqueline♥ came over Sunday for a paper bag scrapbook lesson. I figure I might as well snap a few pictures and make a tutorial . These are fun little scrapbooks to make and they make great gifts, too!
View HERE to see pictures before embellishing.
Supplies:
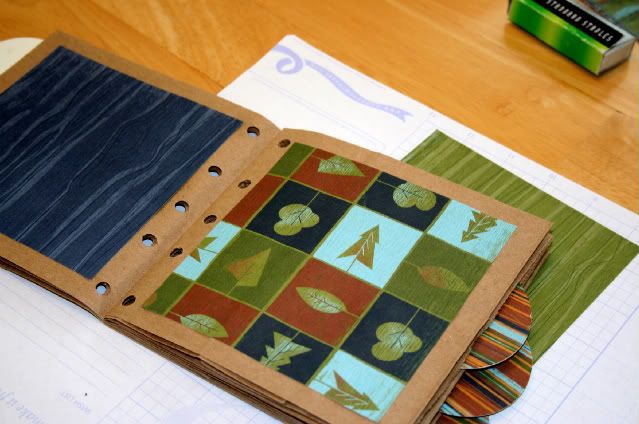
4 - #8 Paper bags. Lay one down, turn the next on the opposite direction, etc, until you have all four down. Sew a seam down the center. Fold in half and punch 3-5 holes. I use my Crop A Dile.
Cut:
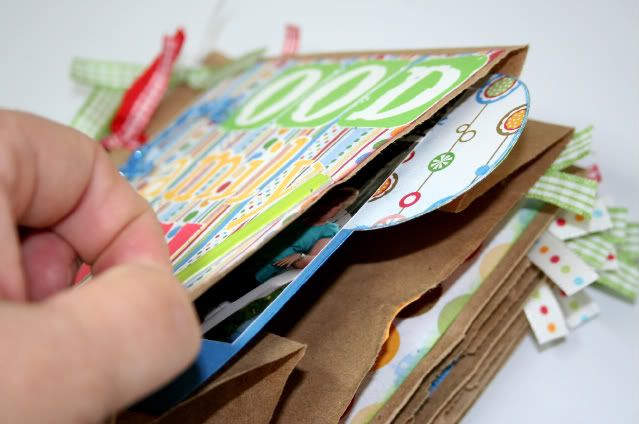
4 – 5 x 5 Cardstock (for inside pockets), Punch out 4 large white circles. Punch 8 large B & T, Glue white circles to the edge of the 5 x 5 pieces. Now glue the B & T circles to each side of the circle. This will make a pull tab. Slide these into each bag pouch.
12 – 5 x 5 B&T
4 – 5 x 3 B&T
4 – 5 x 3 Cardstock
Several Colors of Ribbon
Cut several 5” strips of ribbon of various colors. 4 – 2” various colors.
Glue the 5 x 5 pieces of B&T to the Front, Back and flat pages of the book. Glue the 5 x 3 B&T pieces to the small inside flaps of the pages. Staple the small strips of ribbon to the 5 x 3 pieces of CS. These will slide inside the small pouch. These are great little pieces for small pictures and for journaling. After gluing everything. Pull the 5” ribbon strips through the holes you punches along the spine and tie. Add as many as desired.
Embellish and attach photos as desired.
Food Family and Fun - All I have left is my journaling..


EnJOY!


3 comments:
How sweet of you to post your tutorial and slideshow of the finished project! I've wanted to try one of these, and this is a great inspiration to just "do it." Thanks a bunch! Hope mine turns out half as cute as yours!
What a neat idea.
It's been awhile since I've done these. You've inspired me!! Love the music here... Have a great day!
Post a Comment