Showing posts with label Tutorial. Show all posts

Saturday, November 13

Flap Bag Album

I have a pack of 500 paper bags I bought last summer.  I’ve made some paperbag scrapbooks out of them and have sold a few kits with instructions.   I love making small themed scrapbooks.   They’re so fun!

Photobucket

Photobucket

I found a video on YouTube a few days ago with instructions to make a Flap Bag book!  Yea!   More idea’s for my paper bags…   It went together real quick. (about 45 minutes)   Right now it’s really basic but I’ll eventually add some pictures and embellishments to it.  


Turn off the music above and watch the following instructions.


Create!

Photobucket
Pin It!

Tuesday, July 21

Paper Bag Scrapbook

Warning: This is a long post. Tutorial included.

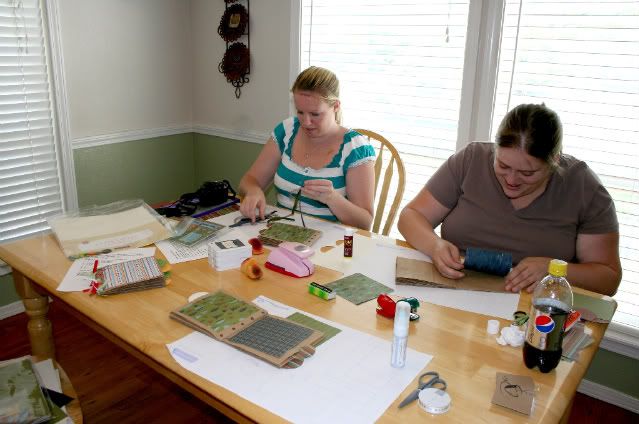
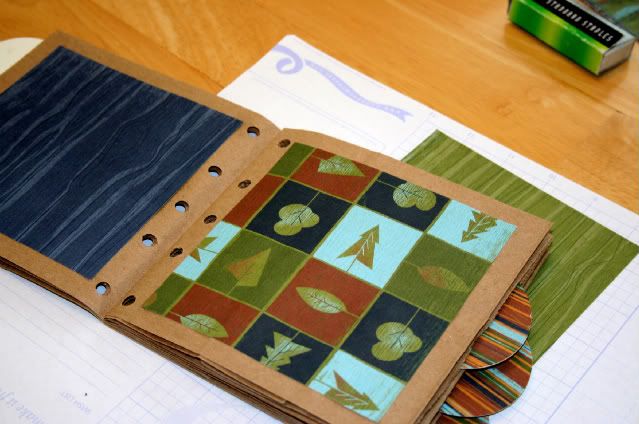
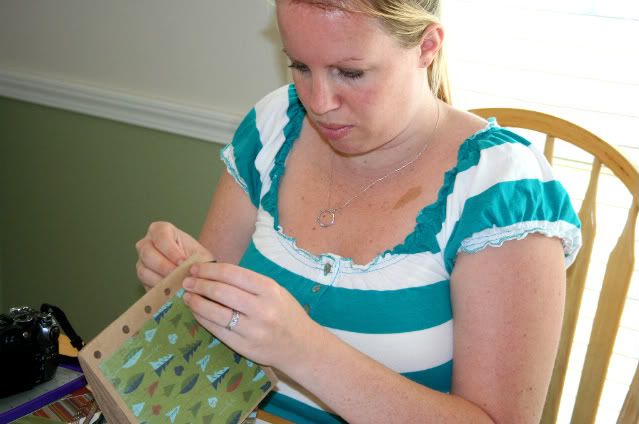
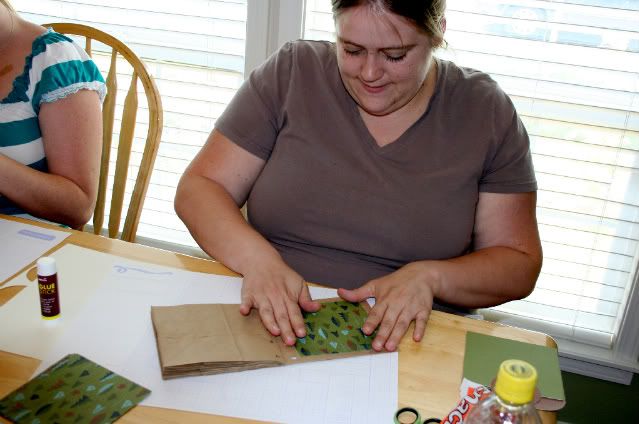
My daughter in law Jennifer and her friend Jacqueline♥ came over Sunday for a paper bag scrapbook lesson. I figure I might as well snap a few pictures and make a tutorial . These are fun little scrapbooks to make and they make great gifts, too!
View HERE to see pictures before embellishing.

Supplies:

4 - #8 Paper bags. Lay one down, turn the next on the opposite direction, etc, until you have all four down. Sew a seam down the center. Fold in half and punch 3-5 holes. I use my Crop A Dile.

Cut:

4 – 5 x 5 Cardstock (for inside pockets), Punch out 4 large white circles. Punch 8 large B & T, Glue white circles to the edge of the 5 x 5 pieces. Now glue the B & T circles to each side of the circle. This will make a pull tab. Slide these into each bag pouch.

12 – 5 x 5 B&T

4 – 5 x 3 B&T

4 – 5 x 3 Cardstock

Several Colors of Ribbon

Cut several 5” strips of ribbon of various colors. 4 – 2” various colors.

Glue the 5 x 5 pieces of B&T to the Front, Back and flat pages of the book. Glue the 5 x 3 B&T pieces to the small inside flaps of the pages. Staple the small strips of ribbon to the 5 x 3 pieces of CS. These will slide inside the small pouch. These are great little pieces for small pictures and for journaling. After gluing everything. Pull the 5” ribbon strips through the holes you punches along the spine and tie. Add as many as desired.

Embellish and attach photos as desired.

Food Family and Fun - All I have left is my journaling..
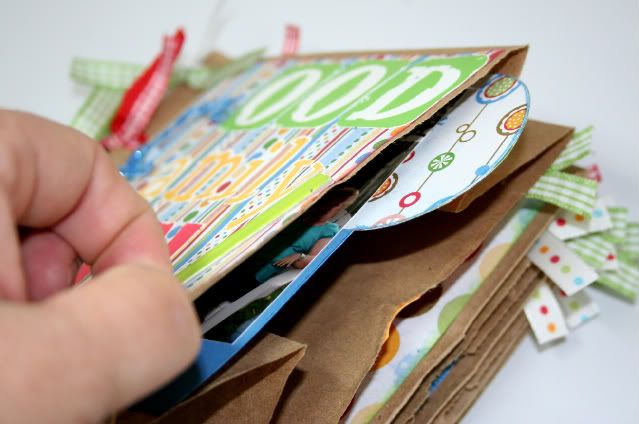


EnJOY!

Photobucket

Pin It!

Thursday, May 15

Shake it Baby!

Have you ever made a shaker card?? I bought a couple of new stamp sets out of the new CTMH Catalog that came out in May. You can view it here.


To Create your shaker card; Cut your base, which is half of an 8 1/2 x 11 piece of cardstock. I used CTMH Olive. I then used some Dutch Blue B&T paper. I cut it 5 x 3 3/4 and rounded the edges. For the shaker winder I cut a 3x3 piece of White Daisy and stamped by Frog image using the CTMH stamp B1309 - Fun Times. I cut a 3x3 piece of Dutch Blue and a 3x3 piece of clear acrylic I purchased at Craft Warehouse. Measure in 1/2 inch and cut out the inside of the Dutch Blue. This will create a frame.

Photobucket

Use either mono adhesive or sticky strip and attach the clear piece to the Dutch Blue piece.

Photobucket

Now attach 3M 1/2 inch mounting tape to the outside edge of the clear piece.

Photobucket

Carefully pour micro beads inside the frame, then attach the white stamped piece to the mounting tape. You now have a little shaker box that you will attach to your card.

Photobucket

You can use beads, glitter, punched shapes, etc.. to put inside your shaker box.

I attached some garden green ribbon, a sentiment from the same stamp set and some Robins Nest Water baubles. Isn't it cute???

Photobucket

Karma...give honest and sincere appreciation...

Pin It!

Friday, September 21

Tutorial

I created a tutorial of the Origami Christmas Tree card pictured on my blog dated Sept 2. If you are interested, Post a comment with your email address and I will send you a word document.
Pin It!