
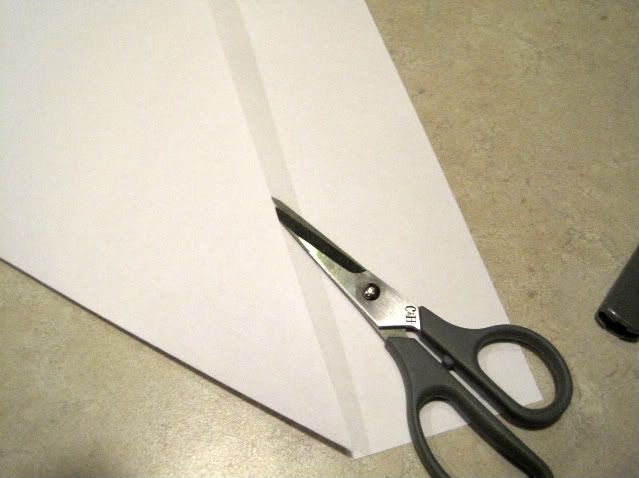
With the paper facing you,(portrait not landscape). Fold the bottom right corner over to the left edge.

Cut the extra strip off.
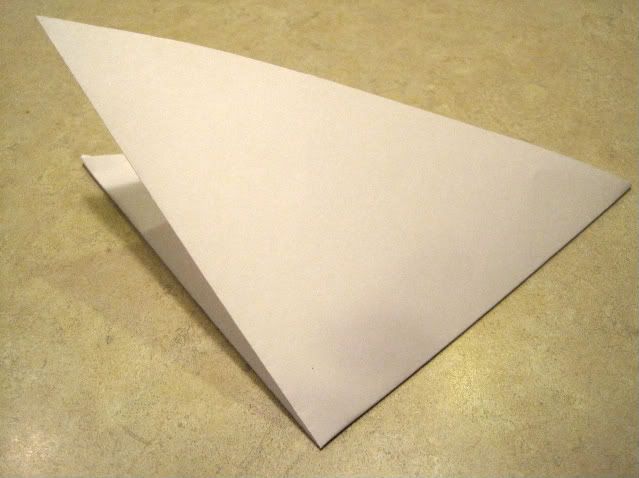
When opened, your paper will be square. Keep the paper folded to form a triangle. Put your thumb in the middle of the fold and always remember where the middle is. This will eventually be in the middle of your snowflake. With the folded edge at the bottom, grab the right edge and fold across the left edge. You will now have a smaller triangle. (remember the middle)
With the triangle upside down and the point at the bottom, grab the top right corner and fold across to the top left corner. (again, a smaller triangle... and keep track of the middle)
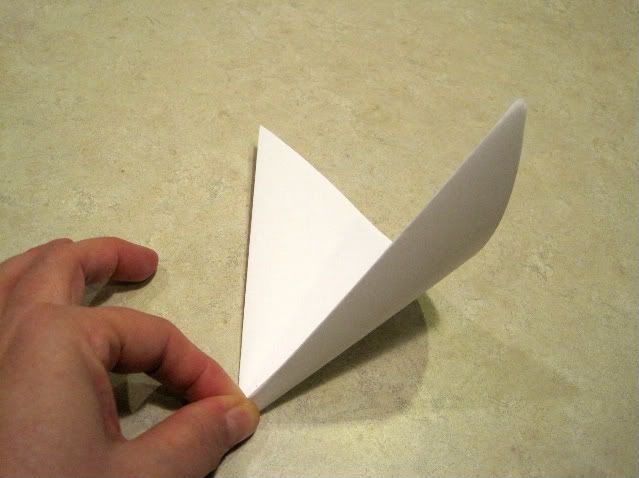
With that middle tip of the triangle pointing down, (it will look like its standing on end) Fold the right corner across the the left edge. (There will be that extra edge at the top. Don't worry about it. You'll be cutting it off.)

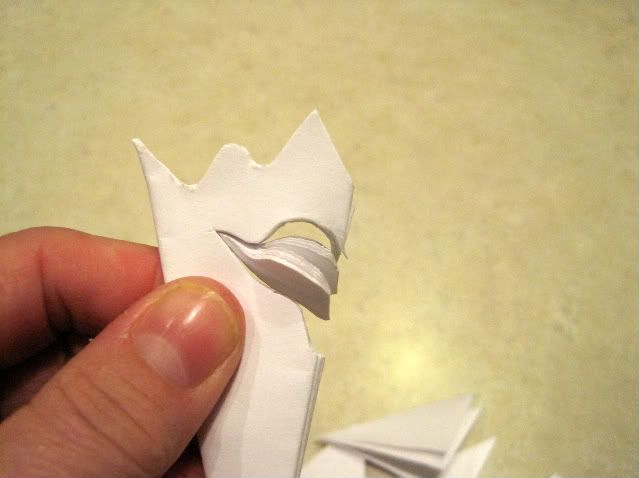
Now is the fun part. You'll cut the top edge of the snowflake. This will be the outside edge when opened up. The tip at the bottom will be cut off and will be the center of your snowflake. The more you cut off, the bigger the center will be. Now cut out various designs on both sides of the folded paper. This will be your inside design of the snowflake.
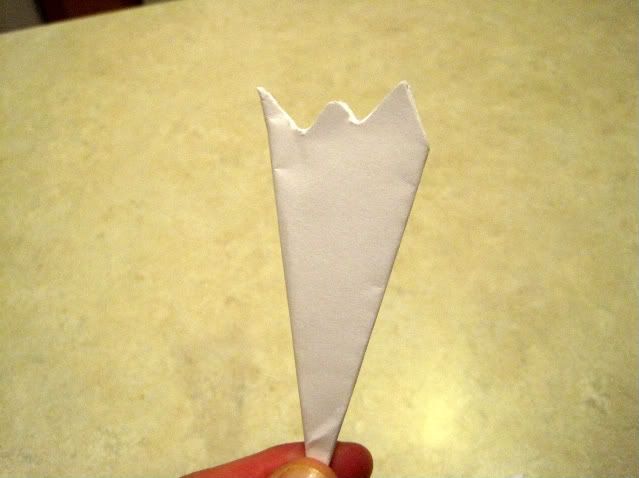
The more paper your remove, the more delicate the snowflake..
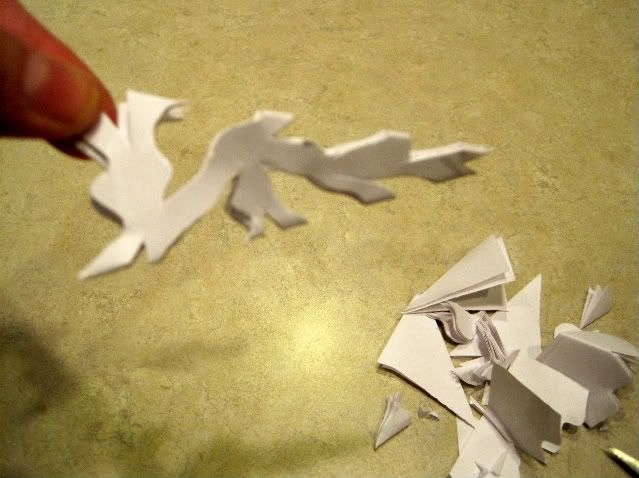
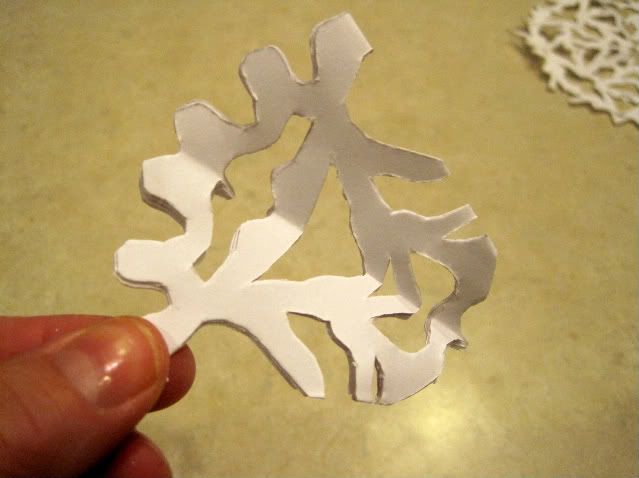
Slowly unfold your creation..

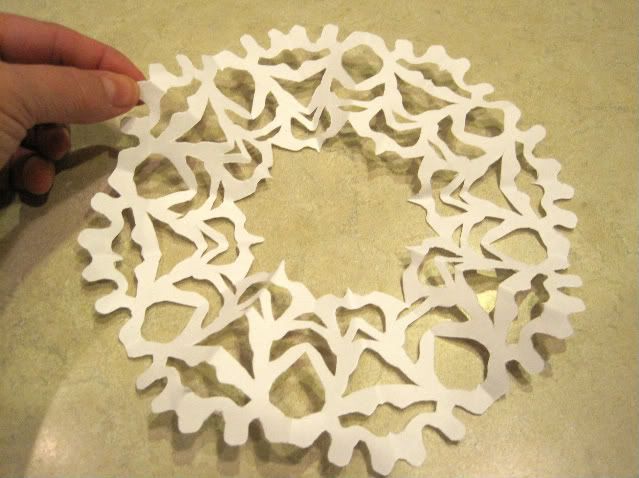
Isn't it pretty?

One more...
Check out tomorrow's post to see the Snow Fairy.
EnJOY!


2 comments:
these are great and you reminded me that we need to make a few!
Such a simple thing with gorgeous results!
Post a Comment