Showing posts with label Recipe. Show all posts

Thursday, July 7

Seize the Cupcake

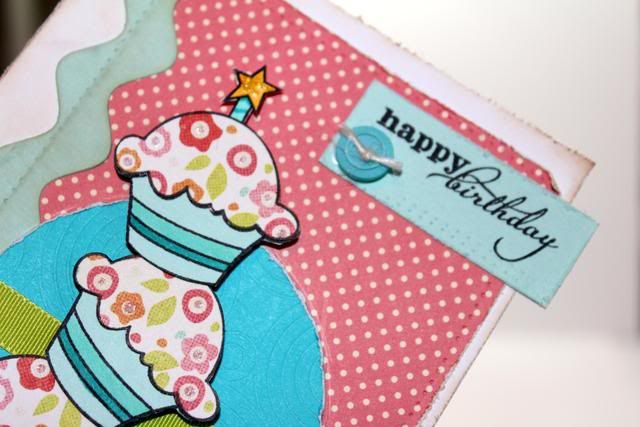
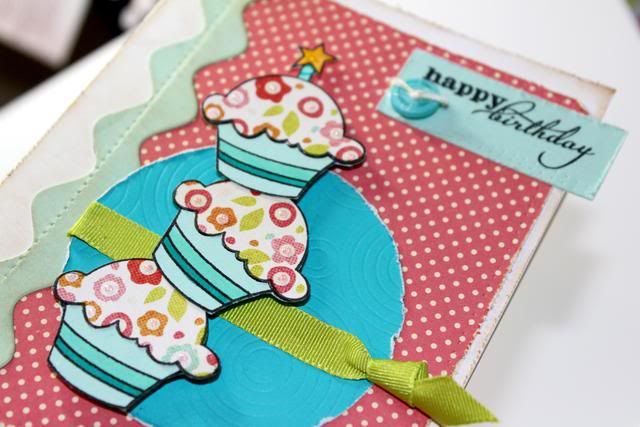
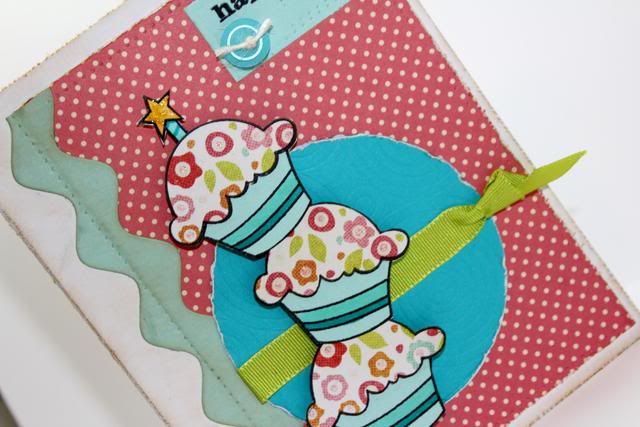
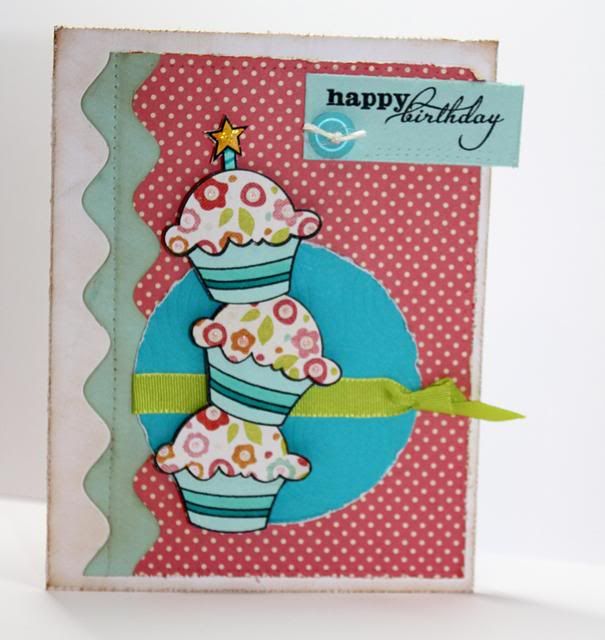
Who doesn’t love cupcakes?    I purchased this fun cupcake stamp from Verve and created this fun card.

I stamped the image on some CTMH Breeze cs,  then stamped it again on some My Minds Eye patterned cs.  I had a total of 6 images.  I cut them out using my detail scissors (only the frosting on the patterned paper).  I glued the frosting to the cup then stacked them on my card. 
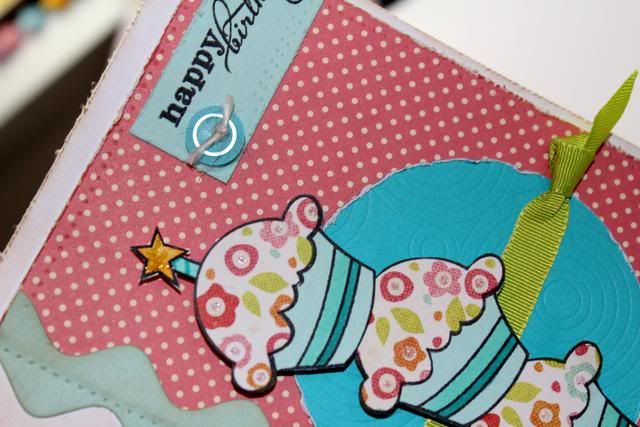
Products used:   My Minds Eye – Alphabet Soup. October Afternoon. CTMH – Breeze, Ocean.  PTI Ric Rac die, Emboss plate. Verve – Carpe Cupcake, Hope Blooms. Copic Markers. Ribbon. Button. Twine. Stickles. Spellbinders – large circles. Sewing tool. Distress ink – vintage photo.
If you’re not in the mood for cupcakes yet…  maybe this will help…

Red Velvet Cupcakes

• 2 1/2  cups all purpose flour
• 2 cups sugar
• 1/2 cup baking cocoa (powdered)
• 1 teaspoon baking powder
• 1/4 teaspoon salt
• 1 teaspoon baking soda
• 2 sticks butter at room temperature
• 5 large eggs
• 1 cup buttermilk (see note at bottom)
• 1 teaspoon vanilla
• 1 teaspoon red food coloring

Combine flour, cocoa, baking powder, baking soda and salt in a mixing bowl.  Sift dry ingredients three times. 

Cream together butter and sugar until light and fluffy.  Add eggs one at a time, making sure to beat well after each egg. 

Add 1/4 of dry ingredients to creamed mixture then approximately 1/4 of buttermilk alternating until mixed well.  Mix in vanilla and food coloring.

Fill lined cupcake pans 1/2 full of red velvet batter.  Bake in a preheated 350 degree oven for approximately 20 minutes or until a toothpick inserted in the center comes out clean.

Cool cupcakes in pans for 5 to 10 minutes then remove from pans.  Cool completely on wire racks before frosting.

NOTE:  If you don't happen to have buttermilk on hand you can try this simple substitution.  Place one tablespoon of lemon juice or white vinegar in an empty one cup measuring cup.  Fill with milk to 1 cup.  Let stand for 5 minutes then use in any cake recipe that calls for buttermilk.
Be Creative!


Photobucket
Pin It!

Sunday, July 3

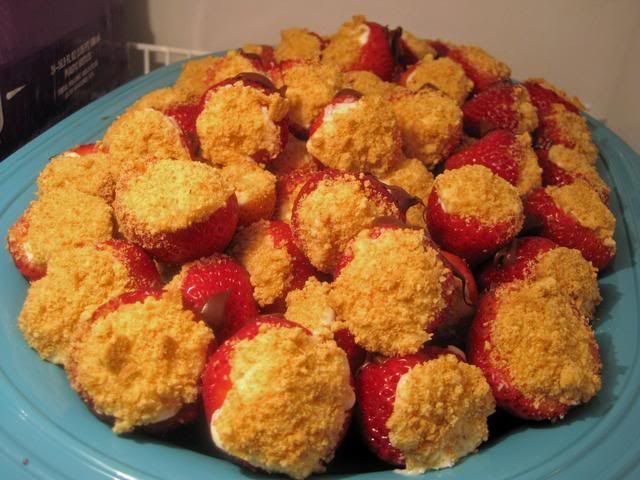
Cheesecake Stuffed Strawberries

This is what I’m making today for out Family BBQ tonight.    They were so quick and easy.   About 45 minutes from start to finish.

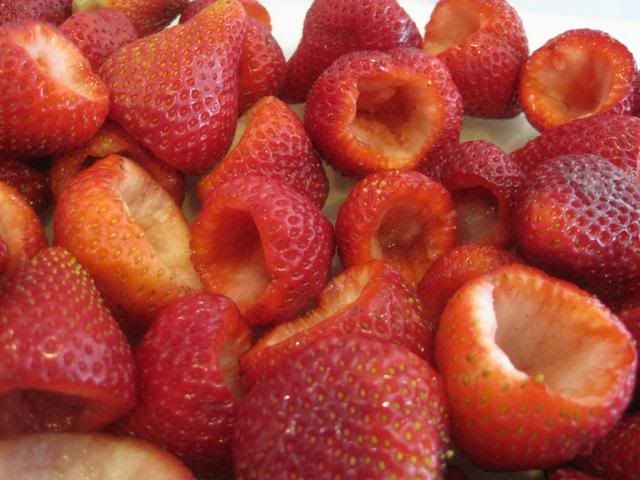
Clean 3 pints of fresh strawberries.   Hollowed out the middle using a small paring knife.  (pampered chef)

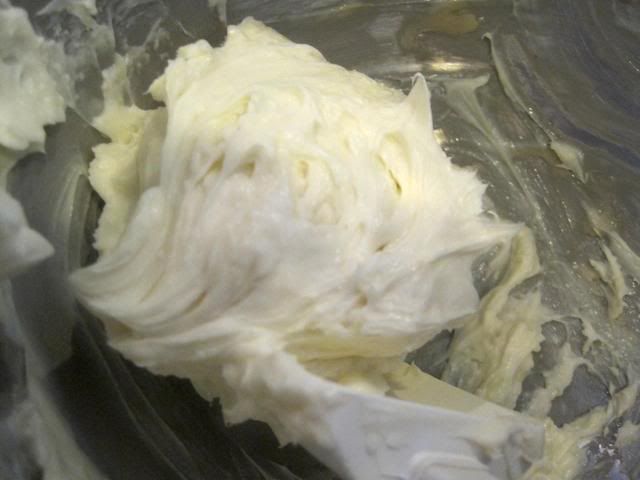
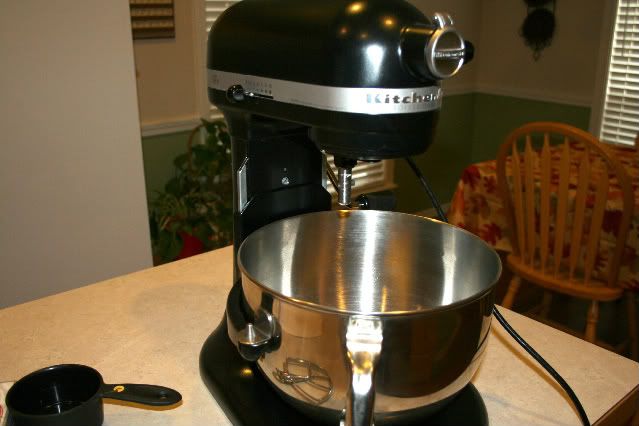
To make the filling I pulled out my Kitchen Aid Mixer.   Cream together  2 - 8oz packages of cream cheese with 1 cup of powdered sugar and 1 tsp  real vanilla.   (Never use imitation!  for anything!)

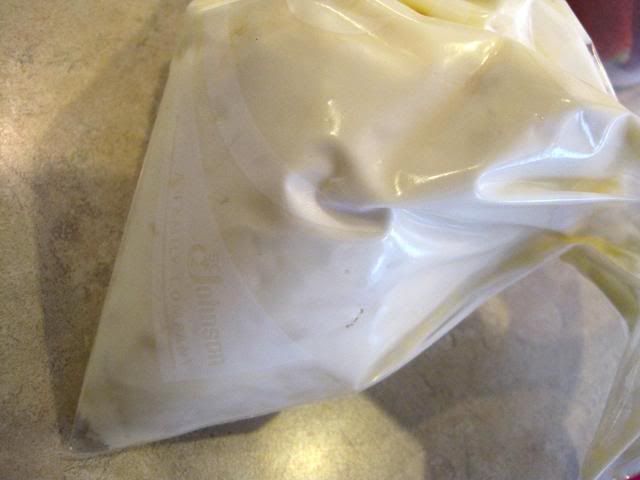
Spoon mixture into a quart ziplock freezer bag.

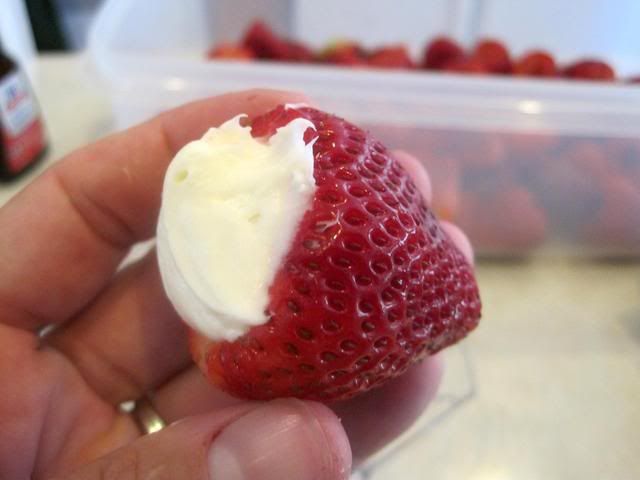
Cut the corner and pipe mixture into each strawberry.

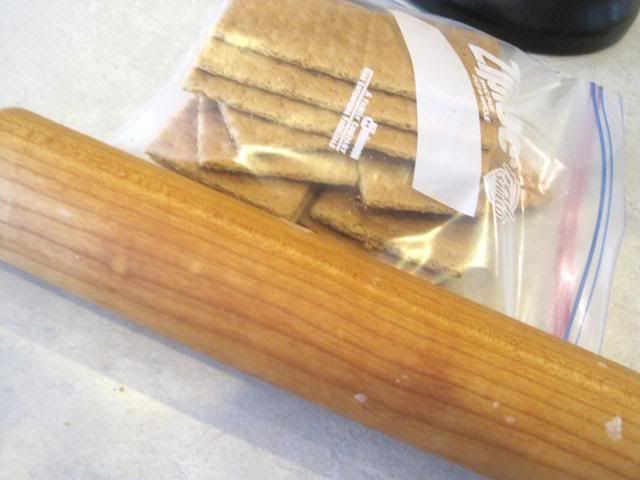
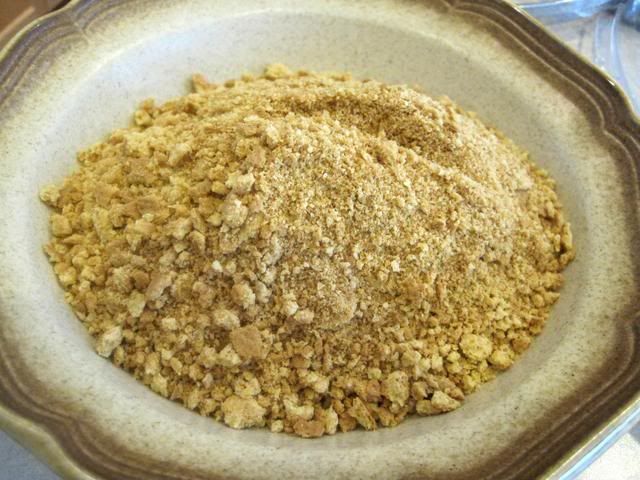
Crush 1/2 a sleeve of graham crackers.  My trick is to put them into a ziplock bag. Get out the rolling pin and smash them into crumbs, then dump in a bowl. 


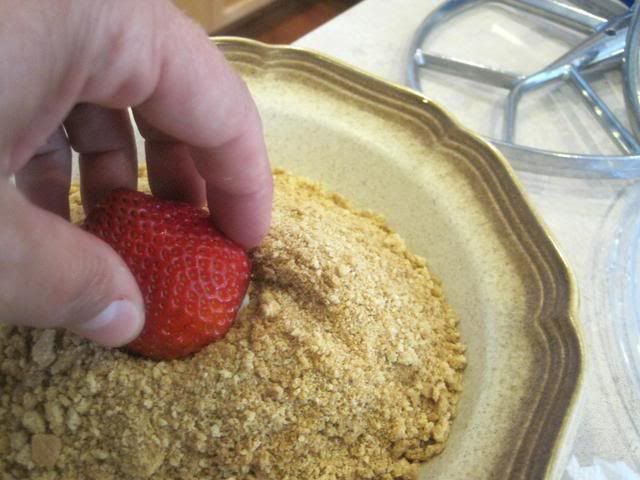
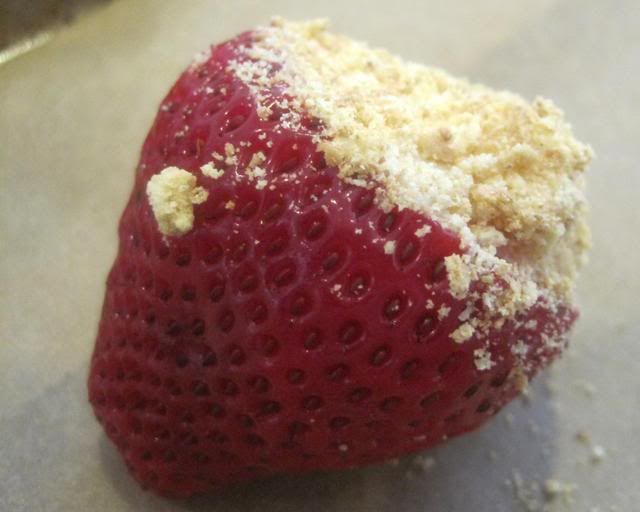
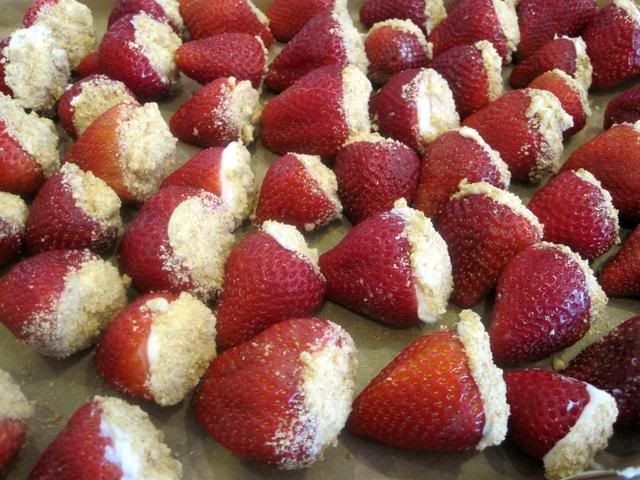
Dip the top of each strawberry into the graham cracker crumbs to cover the cream cheese mixture.

Line a cookie sheet with parchment paper to place the strawberries.   When done stuffing and crumbing them,  you can drizzle with semi sweet chocolate if desired.

Grab a large handful of miniature semi sweet chips,  throw them into a ziplock bag and microwave until melted.   I then cut a corner off and drizzle a little over the strawberries.

If they were just for me I wouldn’t add the chocolate but I know there will be chocolate lovers at the BBQ….   and I am a people pleaser :)


Cheesecake Stuffed Strawberries

3 pints fresh strawberries

2 8z cream cheese

1 cup powdered sugar

1 tsp vanilla

1/2 sleeve graham crackers (crush into crumbs)

large handful of mini semi sweet choc chips

Core each strawberry with a paring knife.   Cream together cream cheese, powdered sugar and vanilla.  Pipe cheese filling into cored strawberries.  Dip piped end of strawberries into graham cracker crumbs.   Drizzle melted chocolate over strawberries if desired.   Refrigerate until ready to serve.

Preparation:  45 minutes

Enjoy!


Photobucket
Pin It!

Friday, January 8

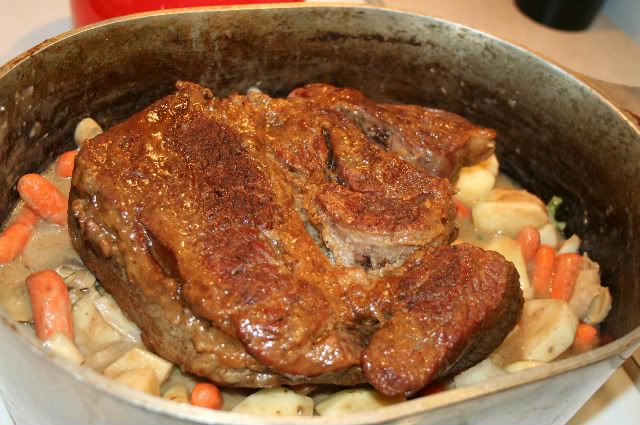
My Mama’s Pot Roast Recipe

My Mom makes the best pot roast.    She says that My Grandma Beth used to say “Don’t do this in the oven or it’s not a real pot roast”
Last weekend I pulled a nice chuck roast out of the freezer and attempted it.   (I usually throw everything in the crock pot before I go to work and let it cook all day… )
You’ll need 1 chuck roast about 2 inches thick. Salt and pepper.  Garlic powder. Flour. Potatoes, onions, celery and carrots cut into bite size pieces.  Fresh mushrooms and zucchini (optional to add the last few minutes of cooking). (I like to throw in a couple of handfuls of frozen peas about 10 minutes before done.)  Oil, shortening or bacon grease.  1 package Schilling beef stew mix.  1 can cream of mushroom soup. 
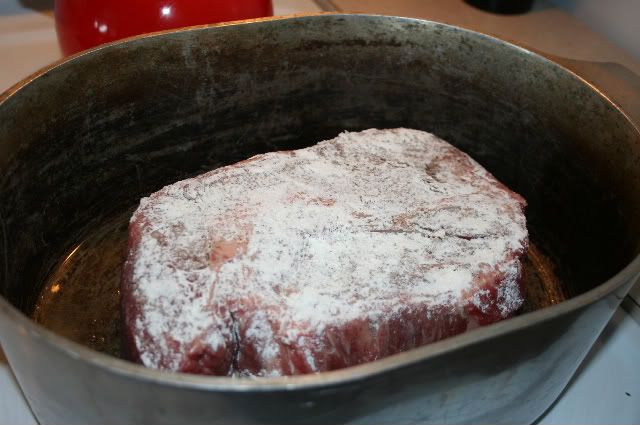
Sprinkle the roast with salt, pepper and garlic powder on both sides; rub in real good with your fingers.  Flour the roast real good with a mixture of flour, salt and pepper.  Heat some oil in a well seasoned  heavy duty pan to frying temperature. 

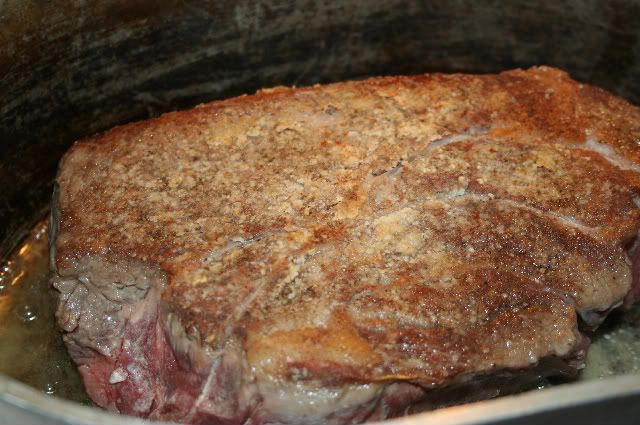
Brown the roast good on both sides, then with the pan still hot,  add about 3/4 cup of water and cover.

Let it cook until the water has evaporated and the meat starts to stick a little.  Repeat this several times on both sides.  This creates a nice brown caramel like sauce for flavor.  After you think it’s nice and browned and getting a good start towards doneness, turn the heat down, keep it covered and let it cook slowly in the juices for an hour or so.  Keep an eye on it and add a small amount of water if needed to keep it from sticking.  When the roast is almost done to your liking, remove it from the pan and set aside.

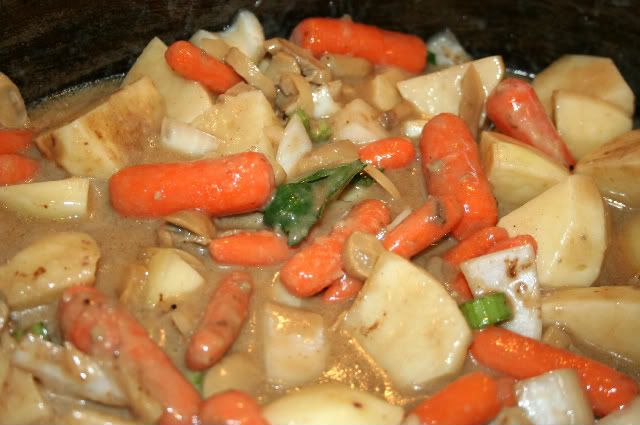
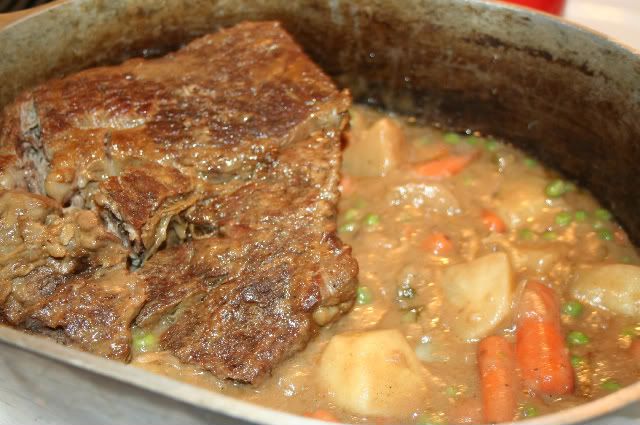
Add the veggies to the drippings in the pan.  Pour a mixture of the stew mix, soup and about 2/3 can of water over the veggies.  Stir well to cover and coat the veggies. 

Lay the roast on top of the veggies.  Cover tightly with the lid and continue to cook slowly until the veggies are tender.  This will create a very tasty gravy for the veggies. 

You’ll need to stir a little now and then so it doesn’t stick too much.  When done, remove the roast, slice into thick pieces and serve with the veggies and gravy,  a nice green salad and some hard rolls!

 
Mine turned out pretty good but Mama’s is better.  Ain’t nothing better than good homemade comfort foods!!
Enjoy!
Simplify!
Photobucket
Pin It!

Wednesday, November 11

Cookies

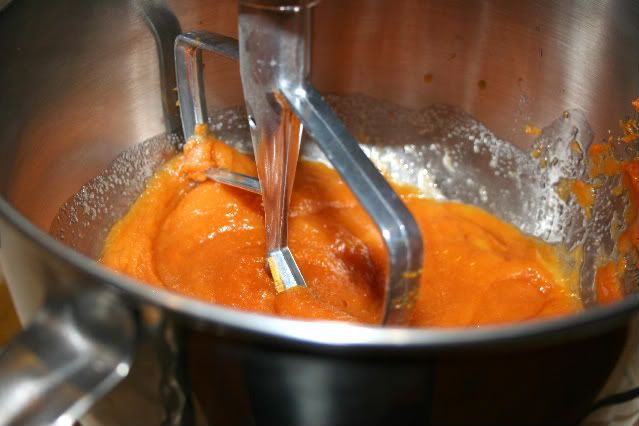
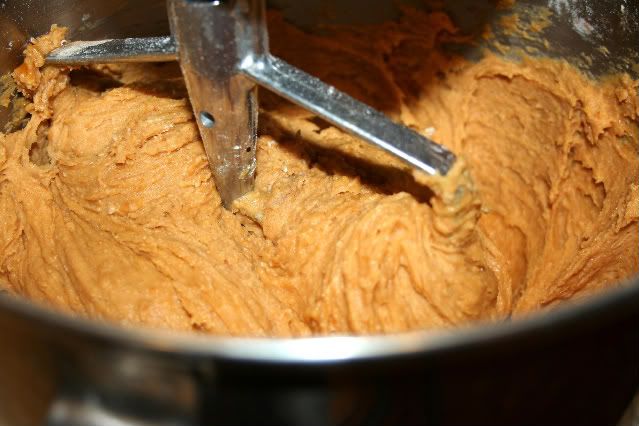
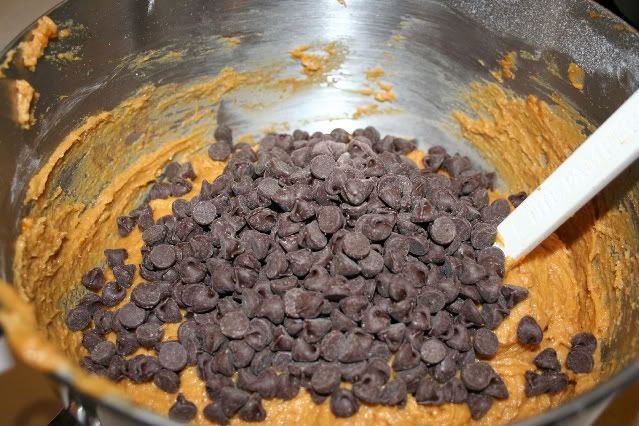
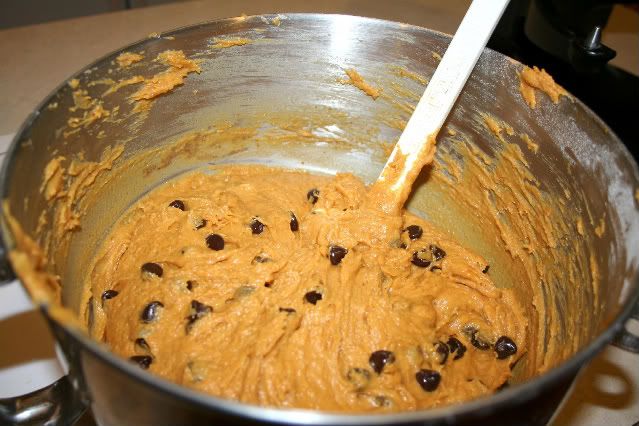
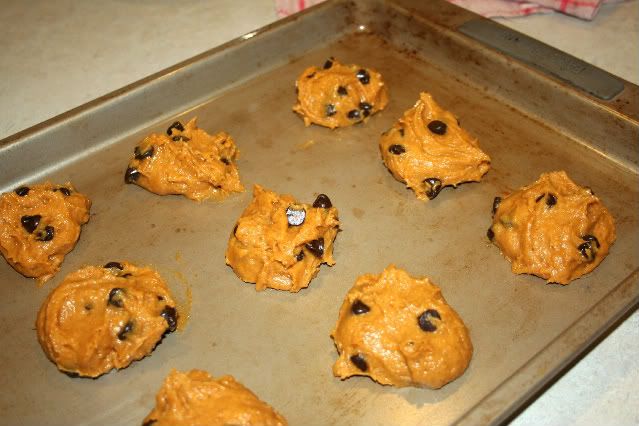
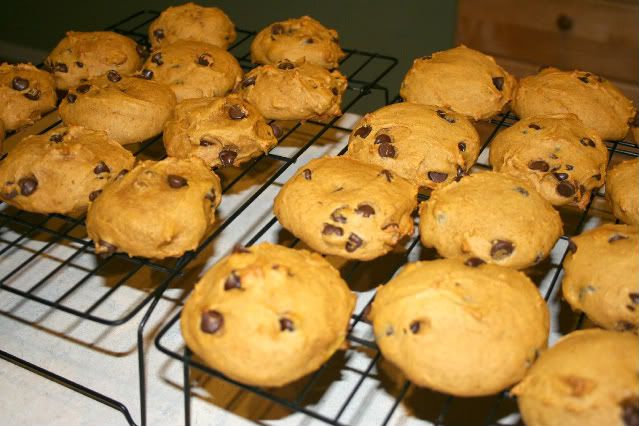
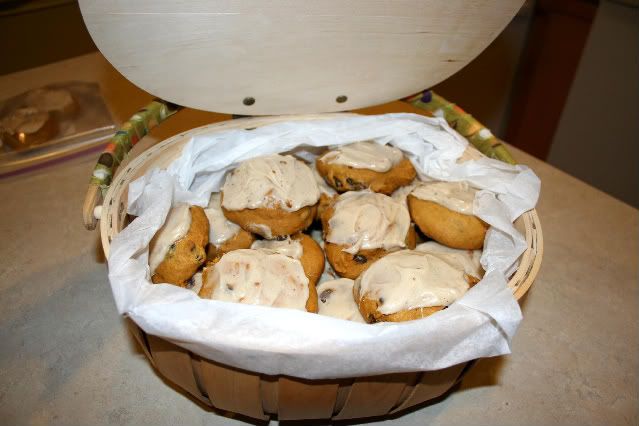
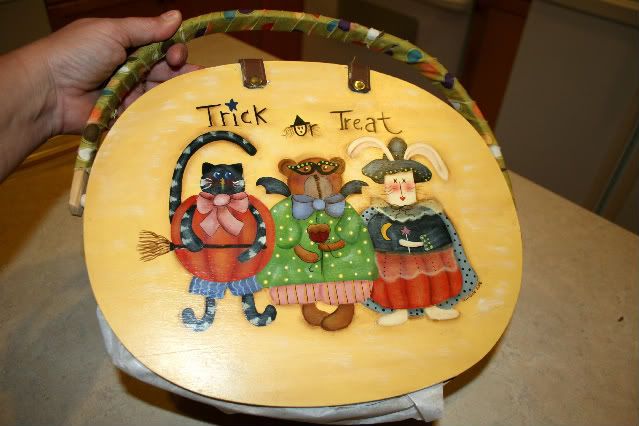
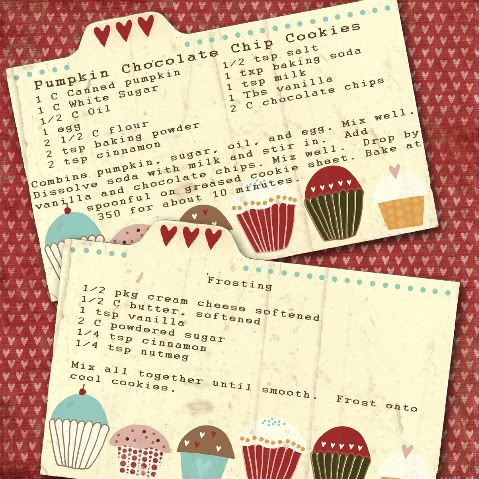
About a week ago I made a big batch of Pumpkin Chocolate Chip cookies. I took a basket of them to our potluck at work. They are delish. I've had this recipes that I found in an old church cookbook years ago. This is the first time I've frosted them. I got the frosting recipe from Sherelle.

This calls for the Boy boy!


Isn't this a pretty color?


I use semi sweet chocolate chips


The finished product!


Try them!


EnJOY!

Photobucket
Pin It!

Thursday, April 23

The Big Cheese

My Handyman likes to enter sweepstakes on line. He's a pro at it! We get several packages a week of prizes. Mostly T shirts and coupons for free products but he has also won some very nice prizes. A couple of years ago he won a trip to Saint Martin. It had all kinds of extras with it.. (click on the labels below to read about the trip) . He's won professional cookware, golf clubs, fishing poles, gift cards etc..... Its a great way for him to de-stress for a few minutes each day and he gets rewarded for it.

Photobucket

A few years ago he entered a Grilled Cheese recipe contest. He Entered his recipe "Grandma Sarica's Italian Grilled Cheese. " Its kind of a funny story. He was reminiscing about his Grandma and the fabulous Italian food she cooked for him when he was a kid. He pretty much made up the recipe as he typed it on the entry form.. A few weeks later he got a call that he had won one of the top spots. He was speechless. We got calls from local news and TV stations wanting an interview. It doesn't take much to get this town hopping! I couldn't stop laughing! He had never even cooked the sandwich.. let alone give an interview and tell the sappy story about it.. He grilled it for us that weekend and it was really good! You've gotta give it a try.. He gave in and had an interview with the local paper.

Grandma Sarica's Italian Grilled Cheese
8 Slices of Italian Bread
2 Tablespoons butter
2 Tablespoons olive tapenade
2 Tablespoons oil packed sun dried tomatoes,
drained and finely chopped.
6 ounces Gorgonzola cheese, coarsely crumbled.
4 pepperoncini, thinly sliced
1/4 Cup olive oil

Butter one side of each slice of bread. Place 4 slices buttered side down on your work surface. Spread the tapenade on the bread and sprinkle with sundreid tomatoes and peperoncini. Distribute the cheese. Top with remaining 4 slices of bread. Buttered side up.
Place the olive oil in a large Teflon coated non-stick skillet over medium heat. Once the oil is warm, about 2 minutes, place the sandwiches in the skillet (in batches if necessary) Cover, and cook for 2 minutes, or until the under side of the bread is golden . Remove the cover, turn the sandwiches, and cook another 1-2 minutes. Cut in half and serve. Makes 4 sandwiches.

Photobucket

EnJOY!
Photobucket
Pin It!

Friday, February 6

Appliances and Gadgets

My Handyman loves to cook. He also loves to watch the shopping networks when the cooking shows are on. He gets all sucked in on how amazing everything is. I usually have to distract him and get him off the couch before he buys one of everything. LOL! Every once in a while he'll sneak in a purchase. We have a Cabinet in the garage that stores all of these fabulous finds.

Look what arrived in a nice box last week from QVC.....
Its the amazing Rocket Grill.. I finally dug it out of the box to give it a try.
(still has the labels on it)
Photobucket

It has an opening at the top.. kind of like a toaster.
Photobucket

You put your food inside a little parchment bag. This catches all of the juices, fats, etc .. You hang the bag inside the grill. When the grill is hot and you close the lid, the plates close up against the bag.
Photobucket

While the chicken was cooking I checked out the instruction and recipe book that came with it.
It has pictures of how to do everything.. which makes it very easy.
Photobucket

Oh look... Oatmeal cookie S'Mores. YUMMY!
Photobucket

You can cook all kinds of meats, grill sandwiches etc...
I was surprised how well it worked. The chicken came out brown and crisp. 10 minutes for two large boneless, skinless breasts. It's great for cooking for two...

Photobucket

EnJOY!
Michelle
Pin It!

Thursday, November 6

Soup

I love soup! I cook several different kinds during the cold months. We have two boxes of spuds fresh from the fields. They're the best! and surprisingly can't be bought in the local stores. All of our best Idaho spuds are shipped out of state...

They make the best potato soup.
Look how big some of them are. One potato will feed 3 people!
PhotobucketPhotobucket
I chop 3 or 4 large Idaho spuds, One large yellow onion (I had to use a red one. I was afraid my soup would turn pink but it didn't). A large handful of baby carrots cut into coins. One stalk of celery chopped into tiny pieces. Put in a large pot and add water just until ingredients are covered. Cook on a slow boil until everything is tender.
Photobucket Photobucket

While this mixture is cooking, slice a pound of peppered bacon and fry until crisp.
PhotobucketPhotobucket


When potatoes are done, add a can of corn, a can of chicken broth and a can of evaporated milk. (not the sweet stuff)

Photobucket

With a slotted spoon, I add the bacon to the soup leaving the drippings in the fry pan.
Heat up the soup mixture again.. (no boil)

I like my potato soup thick (like chowder) I used to make a roux out of butter and flour. I now use the bacon grease with four. This adds extra flavor to the soup. Add a little bit at a time to the hot soup mixture stirring until you reach desired thickness. I add a little salt when done..

PhotobucketPhotobucket
Photobucket


MMMMM! MMMMMM! Good! Who doesn't like a great potato?

Look! Even Tanner likes them!

Photobucket

Enjoy!
Pin It!